
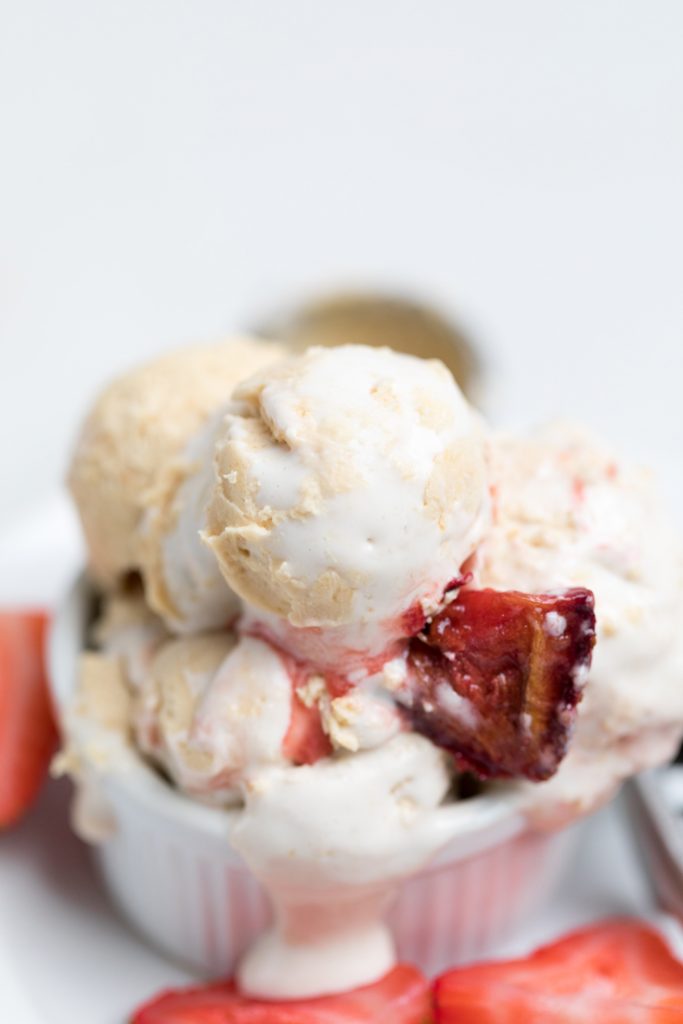
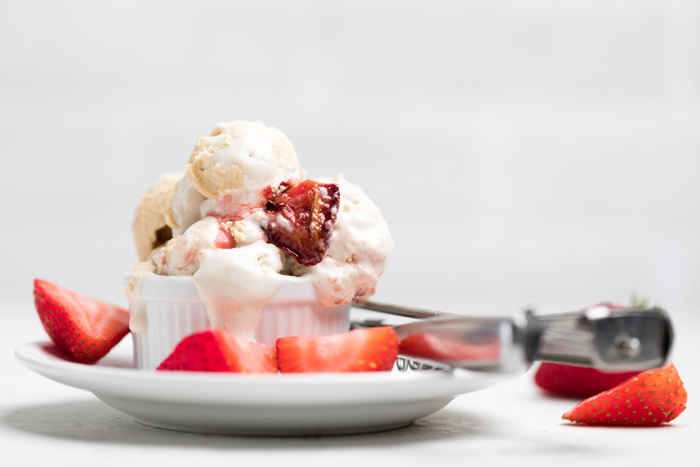
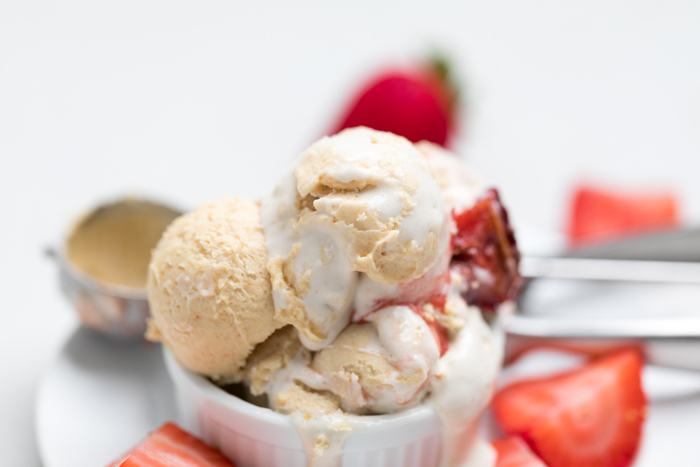
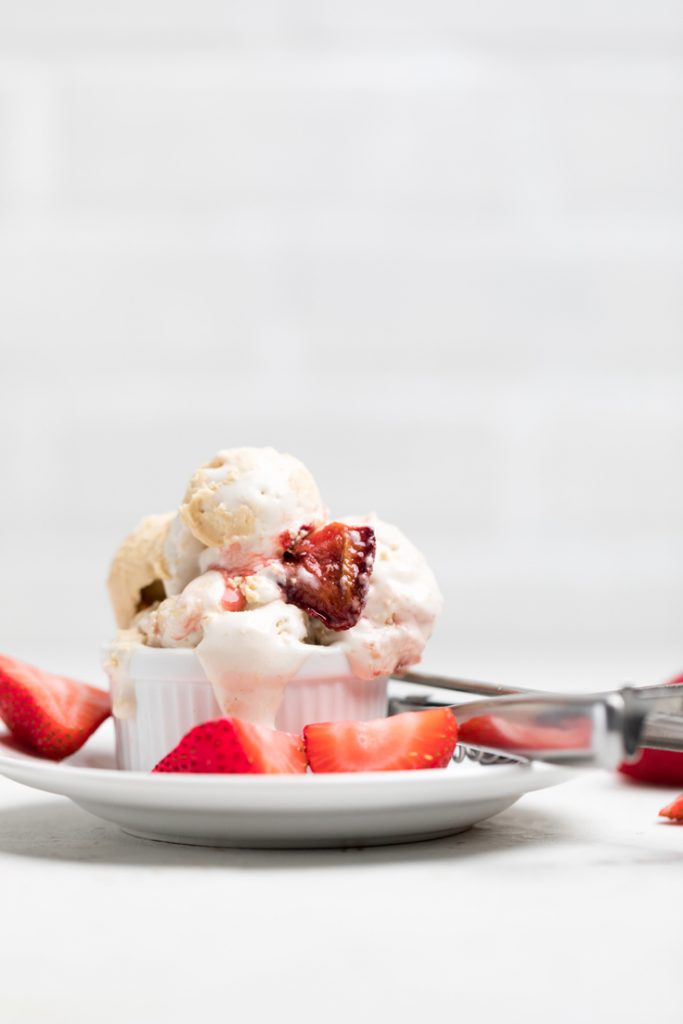
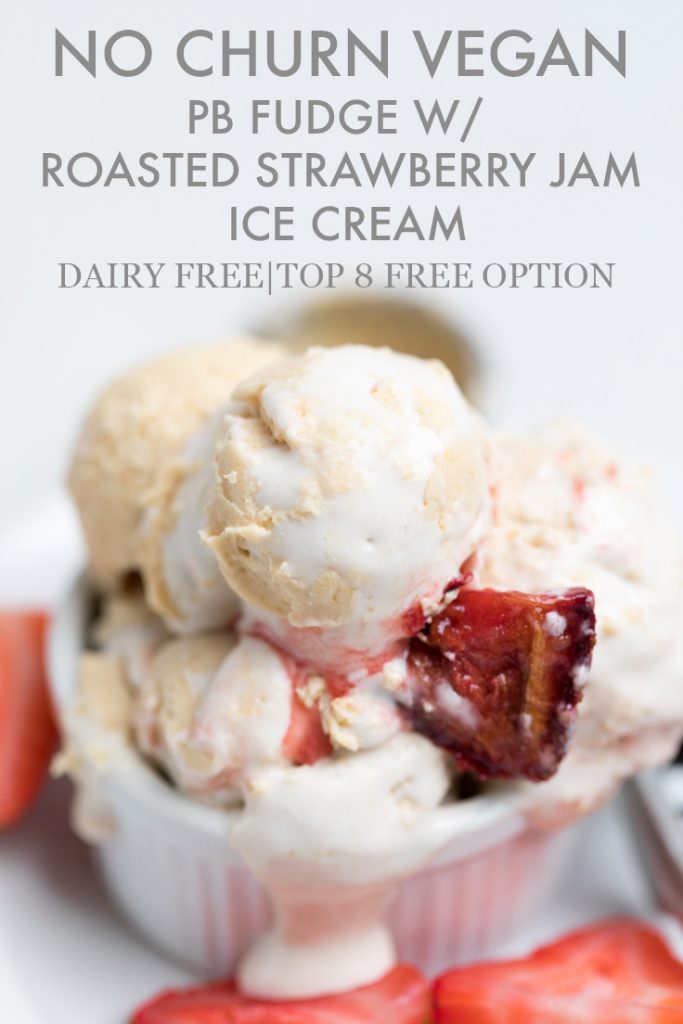
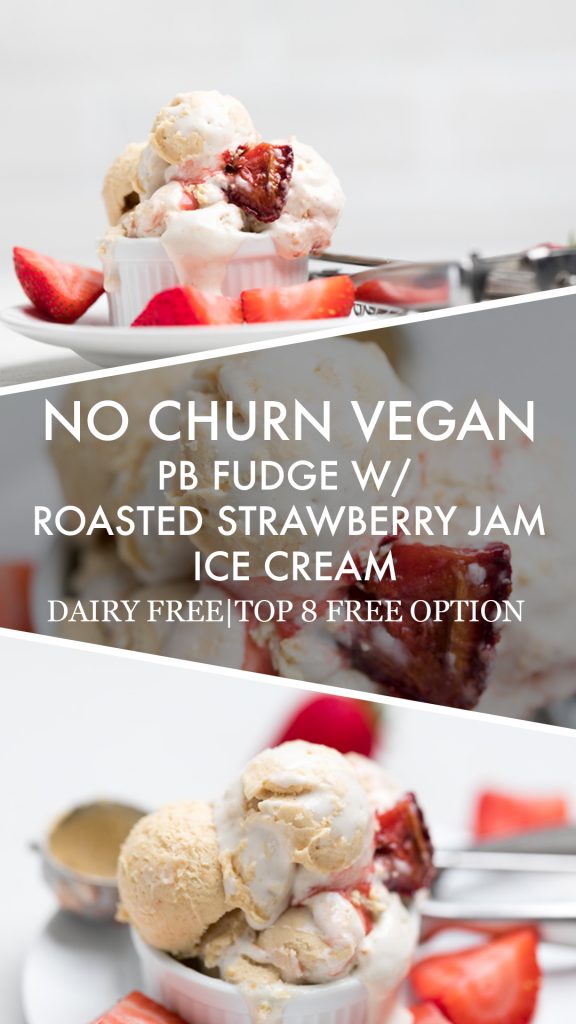
The inner child in you will go nuts over this Vegan Peanut Butter and Jelly Ice Cream! The perfect treat year round!
Want to Save This Recipe?
Being vegan or dairy free doesn’t mean that you can’t have delicious tasting ice cream. This vegan peanut butter and jelly ice cream proves that!
I know that it may sound like an oxymoron, but ice cream isn’t synonymous with strictly dairy milk. You can actually make ice cream with a variety of different milks if you have an ice cream maker.
Today, however, we wanted to share with you a no churn vegan ice cream. You will be mind blown at how easy it can be to make delicious, creamy, amazing dairy free/vegan ice cream in your home without lugging out another appliance.
This particular vegan ice cream will wow any crowd, adult and kid alike. It’s so similar to a delicious PB&J, but like a more grown up, delicious, ice cream version.
Watch how to make vegan Peanut Butter and Jelly ice cream:
What ingredients do you need to make dairy free Peanut Butter and Jelly ice cream?
You need just 10 ingredients to make this delicious dairy free ice cream recipe. That little fact may blown your mind with excitement, but it’s really a super simple recipe.
The ingredients that you need are:
- Full fat canned coconut milk or Store bought vegan whipped topping
- Vegan Condensed Milk (click for recipe)
- Salt
- Vanilla Extract
- Homemade Roasted Strawberries
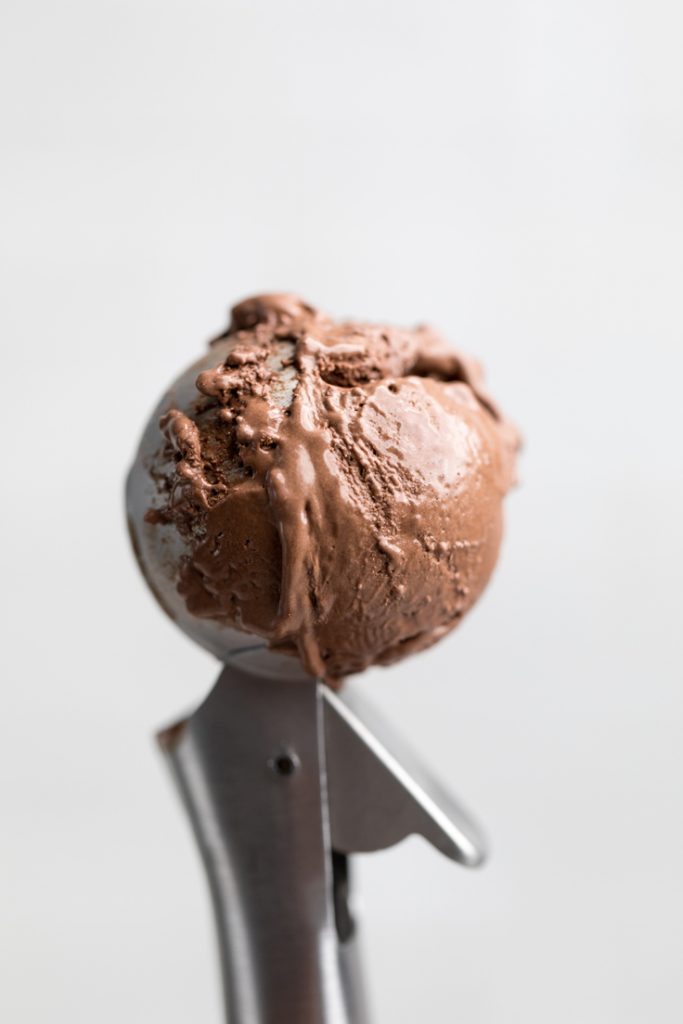
- Vegan Peanut Butter Fudge
How do you make vegan Peanut Butter and Jelly ice cream?
There are a few steps that you need to do in order to make this, but you don’t need any ice cream makers or other non-standard appliances.
To start, you want to make roasted strawberries. To do this, you slice a pint of strawberries and place in a flat dish, sprinkle over sugar and lemon juice. Cover and place in fridge overnight (or at least 6 hours).
Then, preheat oven to 300 degrees and let strawberries roast for 3 hours. I know this seems like a long time but it really does make an amazing strawberry sauce. If you want, you can use store bought strawberry or grape jam instead.
Then, you need to make your vegan peanut butter fudge and homemade vegan condensed milk.
If you are using store bought vegan condensed milk you can skip that step.
Once you have your condensed milk prepped or ready from the store, then you will start by whipping your coconut whipped topping. Follow the instructions for making it from home or pour out the contents of the tub and whip it.
If you are making it from canned coconut milk, you will whip until stiff peaks form. If you are using store bought, then just blend until smooth consistency.
Next, whip in your vegan condensed milk, peanut butter fudge, salt and vanilla extract.
Pour into a reusable ice cream container or freezer safe, air tight container by alternative layers of ice cream and strawberry sauce. Store at least 6 hours or overnight in the freezer.
Scoop out amount desired as needed and serve.
CAN I MAKE THIS TOP 8 ALLERGEN FRIENDLY PEANUT BUTTER AND JELLY ICE CREAM?
I’ll be honest, this one can be made Top 8 Free, but it won’t taste the same.
So let’s walk through this. We can replace the coconut whipped topping with an almond or rice whip topping depending on allergens. Both of those come in spray cans.
Then, you just need to use a nut butter that is safe for you. If you are allergic to peanuts and all other nuts, then sunflowers are your best bet.
For the vegan condensed milk, we clearly outline how to make it in our linked post with any type of dairy free milk, so you could use oat or flax for Top 8 Allergen Friendly.
HOW LONG WILL VEGAN ICE CREAM LAST IN THE FREEZER?
For the most part, as long as you are using products that don’t expire soon, vegan ice cream will last 3-6 months if stored properly. Then again, that’s if it lasts that long!
WHAT STORE BOUGHT PRODUCTS DO YOU USE?
Making this store bought, definitely makes the process go faster. Our preferred products, if no coconut allergy is present, is So Delicious coconut whipped topping in the tub and the canned sweetened condensed coconut milk.
WHAT OTHER NO CHURN VEGAN ICE CREAMS SHOULD I TRY?
Once you try this delicious no churn dairy free ice cream, you may be wondering what other flavors you should try! Here are some delicious recommendations straight from our kitchen:
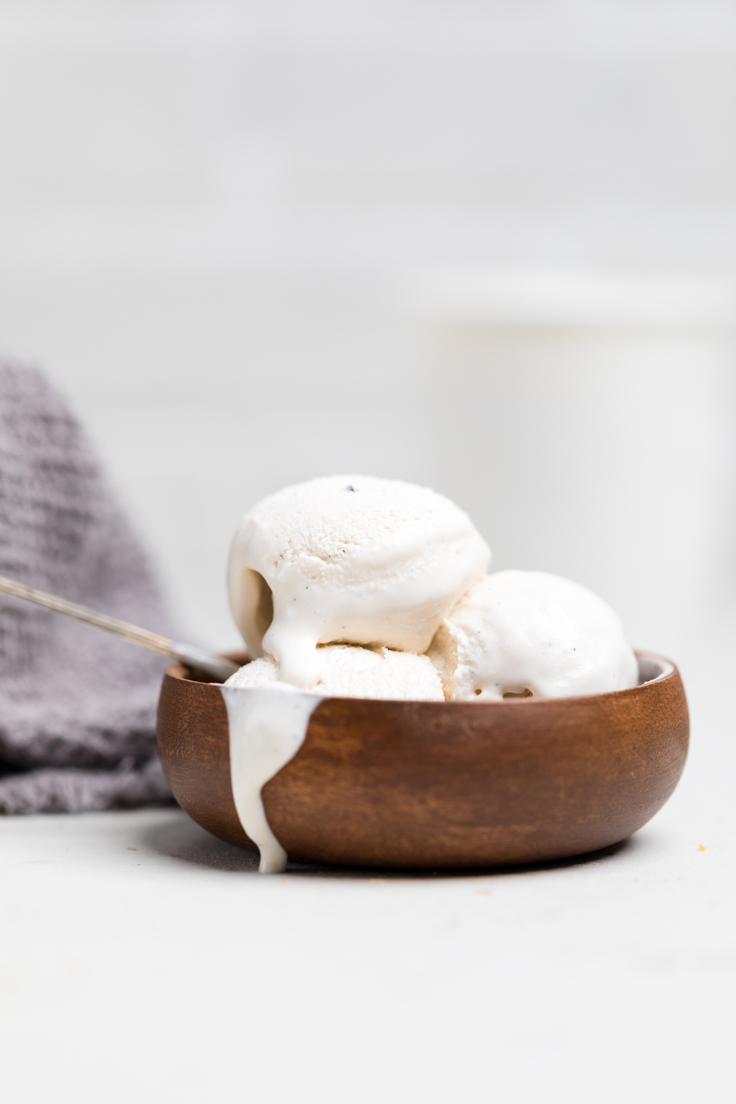
- Classic Vegan Vanilla Ice Cream
- Vegan Chocolate Ice Cream
- Vegan Salted Caramel Brownie Ice Cream
- Vegan S’mores Ice Cream
- Summer Favorite Vanilla Blueberry Peach Ice Cream
- Vegan Rocky Road Ice Cream
Pin this vegan Peanut Butter and Jelly ice cream for later:
🥳 Get the Full Recipe

Vegan Peanut Butter and Jelly Ice Cream
Ingredients
For Roasted Strawberries
- 1 pint strawberries
- 1 juice of lemon
- ½ cup vegan sugar
For Ice Cream Base
- 2 cans full fat coconut milk
- 4 oz vegan condensed milk recipe
- ¼ teaspoon salt
- 1 teaspoon vanilla extract
- ½ cup vegan peanut butter fudge recipe
Instructions
For Roasted Strawberries
- Slice pint of strawberries, removing tops. Place in a flat baking dish.
- Pour sugar and lemon juice over top.
- Let sit in fridge for 6 hours or overnight.
- Preheat oven to 300 degrees and cook for 3 hours.
For ice cream base
- If making vegan condensed milk or vegan graham crackers make those first.*Skip this step if using store bought.
- If making whipped topping from scratch, in a large bowl, scoop out the fat content from the top of your canned coconut milk and whip until stiff peaks form.*If using store bought, pour out the contents of the tub and whip it.
- Beat in vegan condensed milk, salt, and vanilla extract.
- Add in the fudge and whip together.
- Pour into a reusable ice cream container or freezer safe, air tight container by alternating layers of the ice cream base and roasted strawberries. Will use approximately ½ cup of strawberry mixture.
- Store at least 6 hours or overnight.
- Scoop out amount desired as needed.
- Yields approximately 1 pint.
Notes
Video
Nutrition


Rate and Review
We would love to hear what you think!
Comments
No Comments