
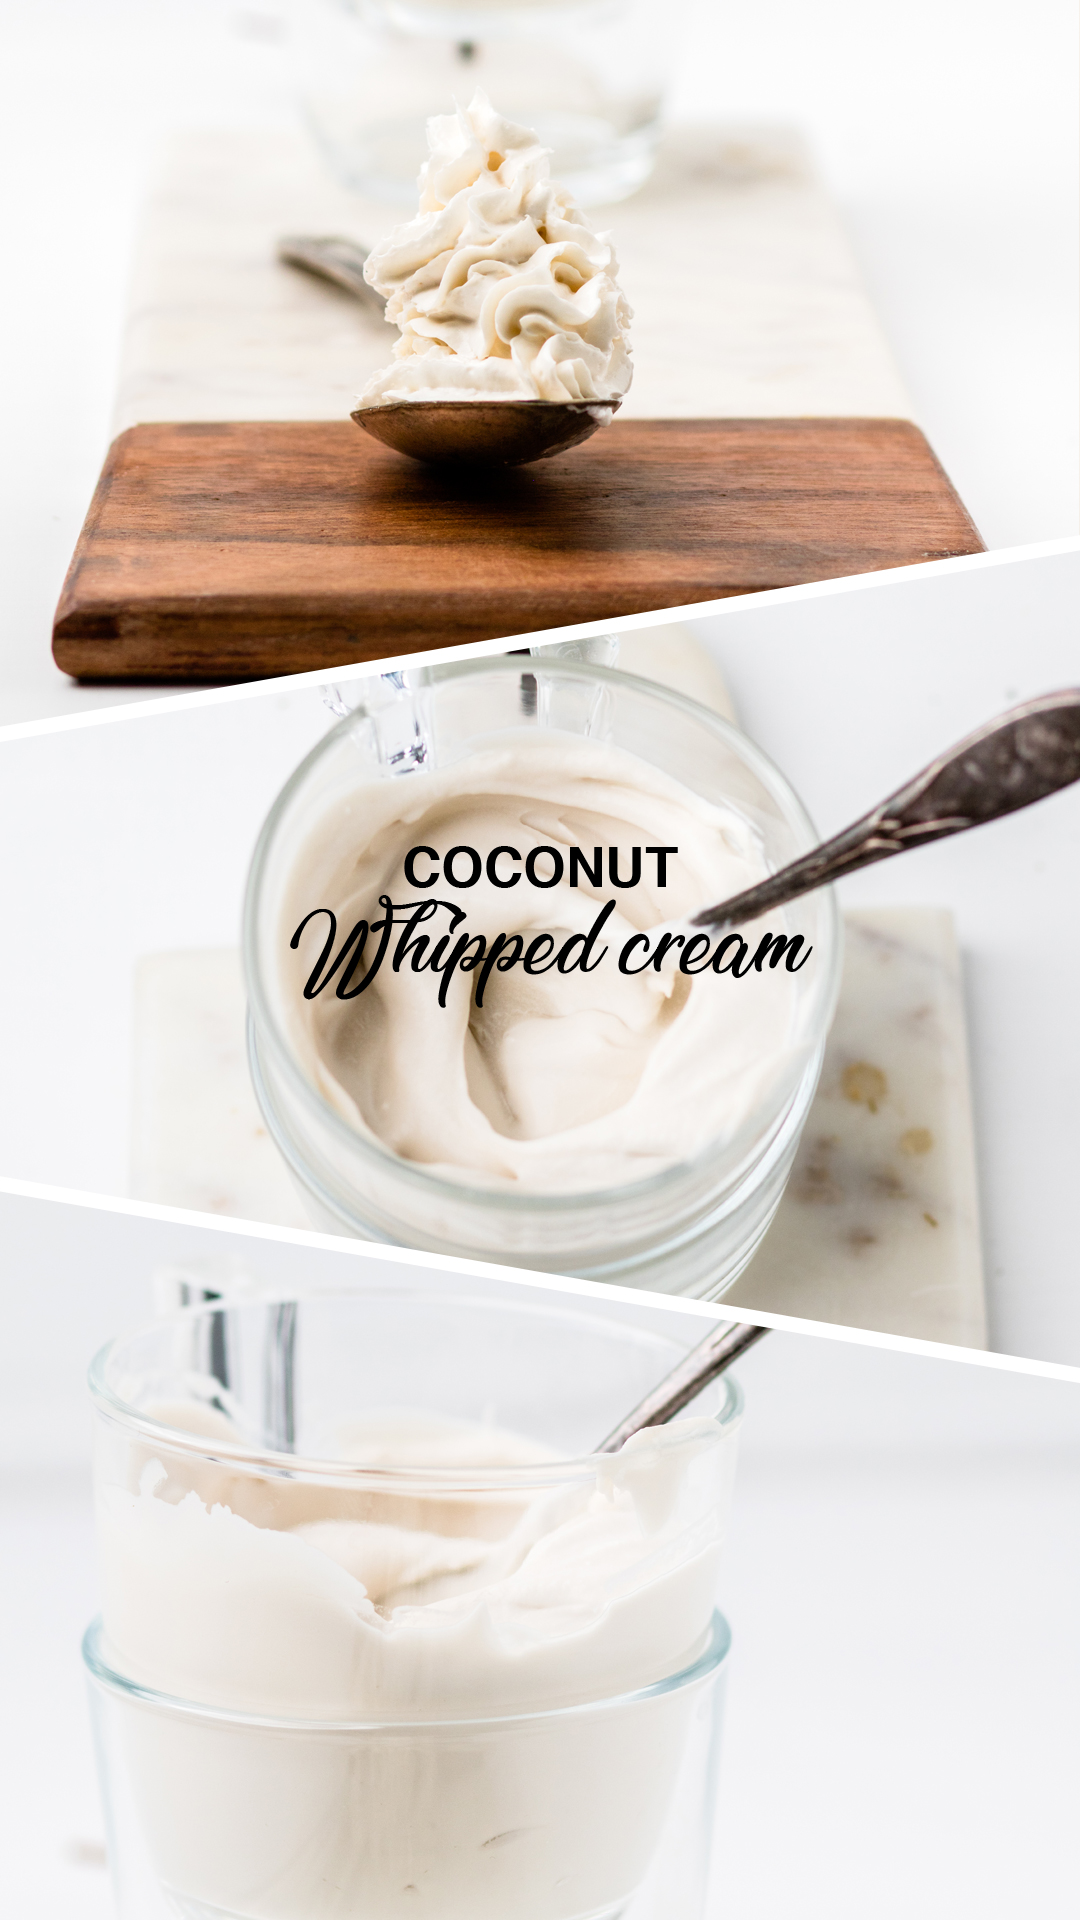
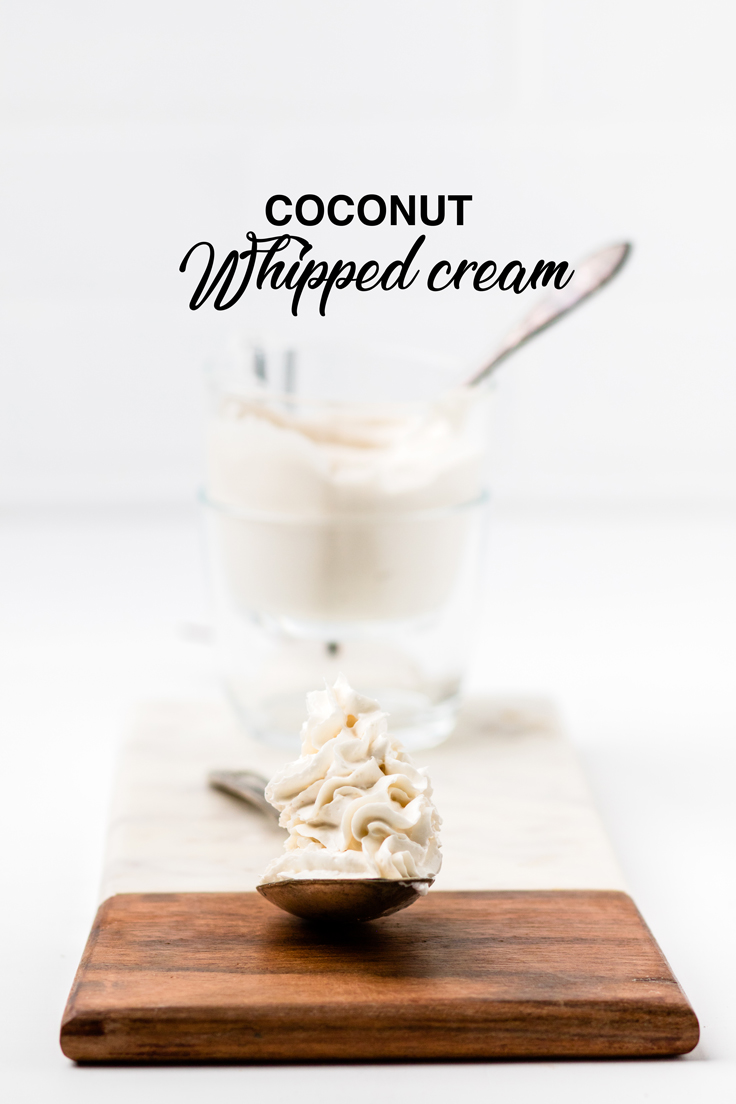
The secret hack to the best dairy-free whip? Using full-fat canned coconut milk!
Want to Save This Recipe?
With just a few simple ingredients and a couple of minutes, you can create a decadent, completely vegan topping that’s every bit as indulgent as the dairy version—without all the additives.
After years of vegan baking and dessert-making, we’ve tested just about every non-dairy whipped cream option out there—both store-bought and homemade. And while some store-bought options are convenient, nothing beats the taste, texture, and clean ingredients of making your own at home.
Vegan Whipped Cream Recipe Ingredients
One of the reasons that this vegan whipped cream recipe is so great is that you don’t need very many ingredients. To make coconut whipped cream you need:
- Chilled Can of Full Fat Coconut Milk
- Vanilla Extract (vanilla beans can be replaced for whole 30)
- Sweetener of choice
- We use vegan cane sugar, but you could use maple syrup or honey as well depending on your diet.
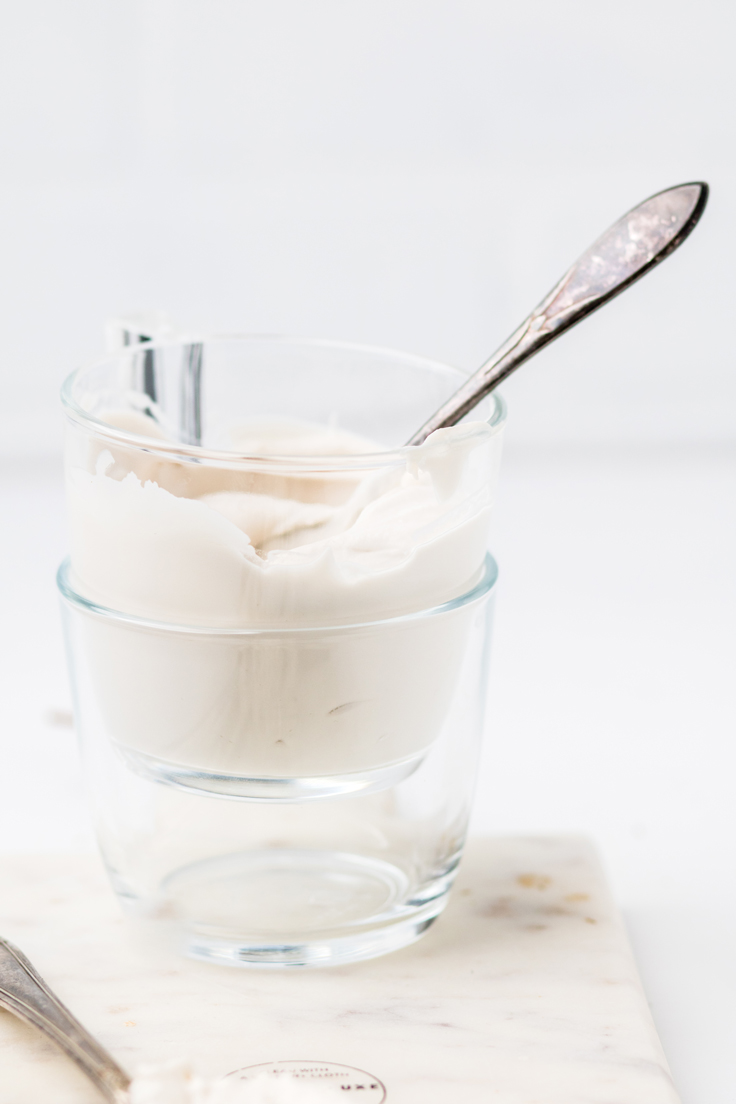
- You will also need a chilled mason jar or bowl. If using a bowl to beat, it helps if your beaters are also chilled.
How to Make Dairy Free Whipped Cream
To start making this dairy free whipped cream, you want to set a can of full fat coconut milk in the fridge. Most cans of coconut milk say do not freeze, so do not put in the freezer. Let chill for at least 6 hours. Overnight is better. One way to always make sure you are ready to make this dairy free whipped cream last minute is to just leave a can in your fridge at all times.
About 10 minutes (or longer) before you are ready to make, you should chill a bowl in the freezer. The colder the bowl is the better. It’s not necessary, but it never hurts to also chill your beaters in the freezer as well.
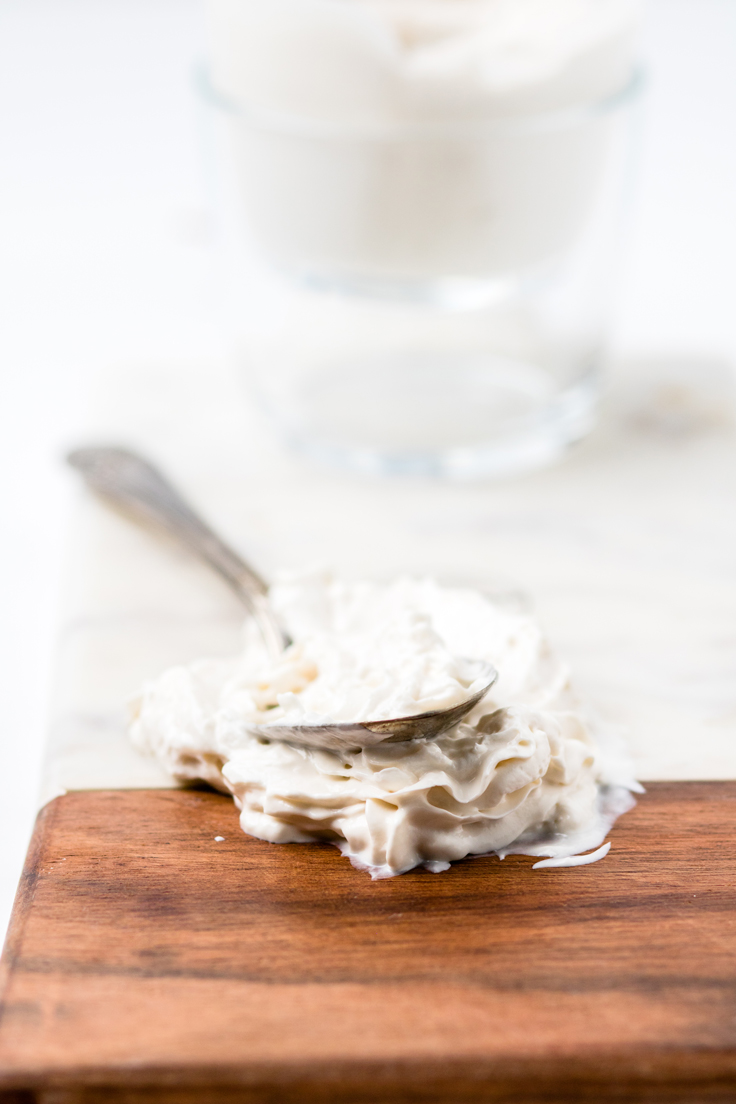
Once you have your chilled bowl, carefully remove your can of coconut milk. DO NOT SHAKE OR TILT THE CAN. Gently, remove the lid. What you should have when you take the lid off is full fat, thick coconut cream at the top of the can separated from the coconut water at the bottom.
Slowly, remove the coconut cream from the can and place it into your chilled bowl. Add the sweetener of your choice and the vanilla to the bowl. Whip together until it forms peaks. This should not take more than 5 minutes. Spread or top on your favorite dessert.
You can also omit the sweetener and vanilla if you choose.
What to Serve With Vegan Whipped Cream
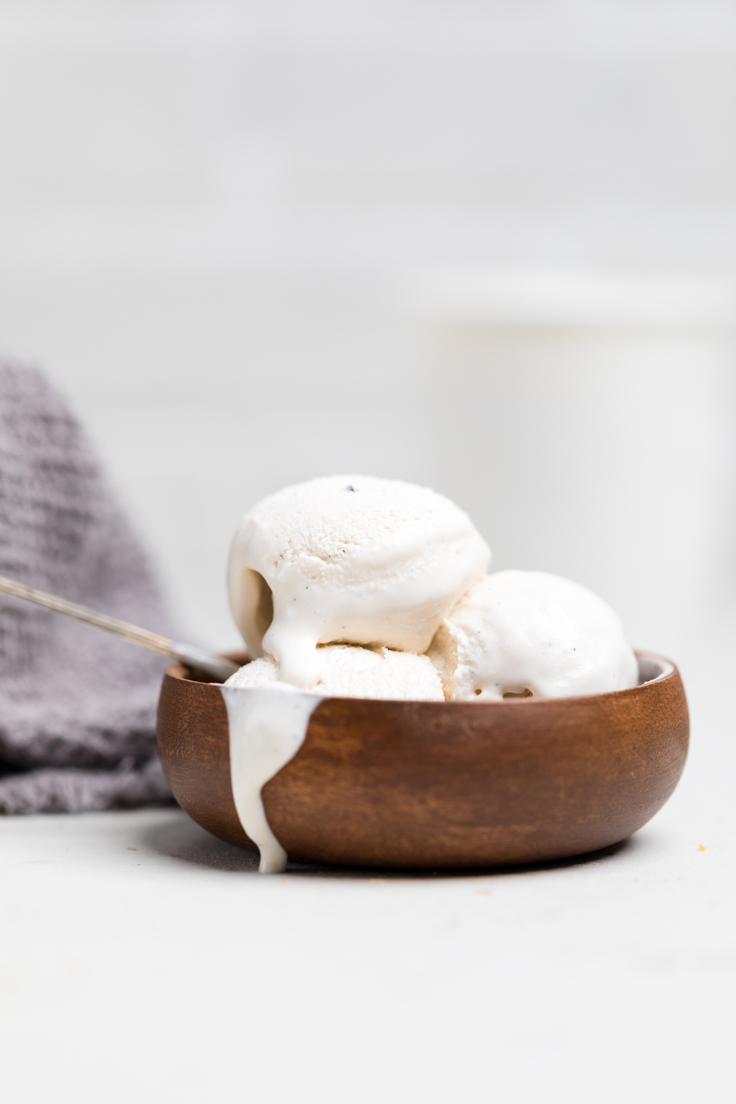
So you have your freshly made dairy free whipped cream and you are wondering what you should put it on now. Don’t worry, I won’t judge if you just eat the whole bowl. It’s pretty delicious. But here’s also some great dairy free desserts that you can pair with this coconut milk whipped cream.
- Chocolate Pumpkin Pie (Vegan and Gluten Free)
- No Bake Strawberry Cream Pie (Paleo)
- Apple Meringue (Vegan)
- Apple Pie (Vegan and Gluten Free)
- Chocolate Mousse (Vegan)
Vegan Whipped Cream Recipe FAQ’s
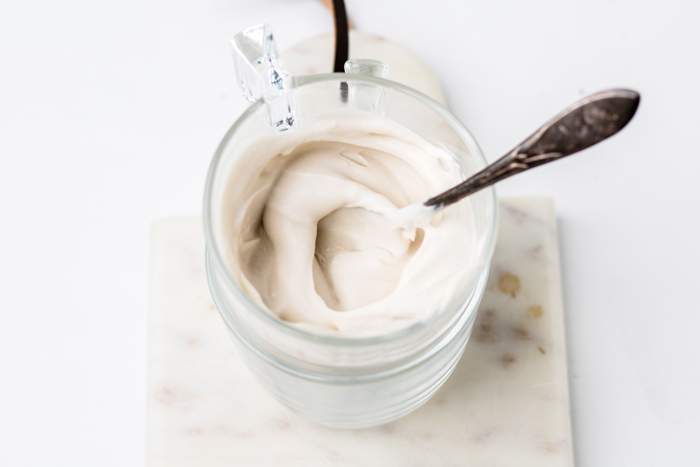
Yes! One of the coolest things about this recipe is that you can still make it in a mason jar like you can with dairy whipped cream. Scoop out the chilled coconut cream like you would if you were making it in a bowl. Place in a chilled mason jar with the other ingredients and shake shake shake! This is a fun activity if you have kids around! It takes a bit of a bicep work out so shake as hard as you can and switch off to anyone else around! After about 5-7 minutes of vigorous shaking, you’ll have thick dairy free whipped cream.
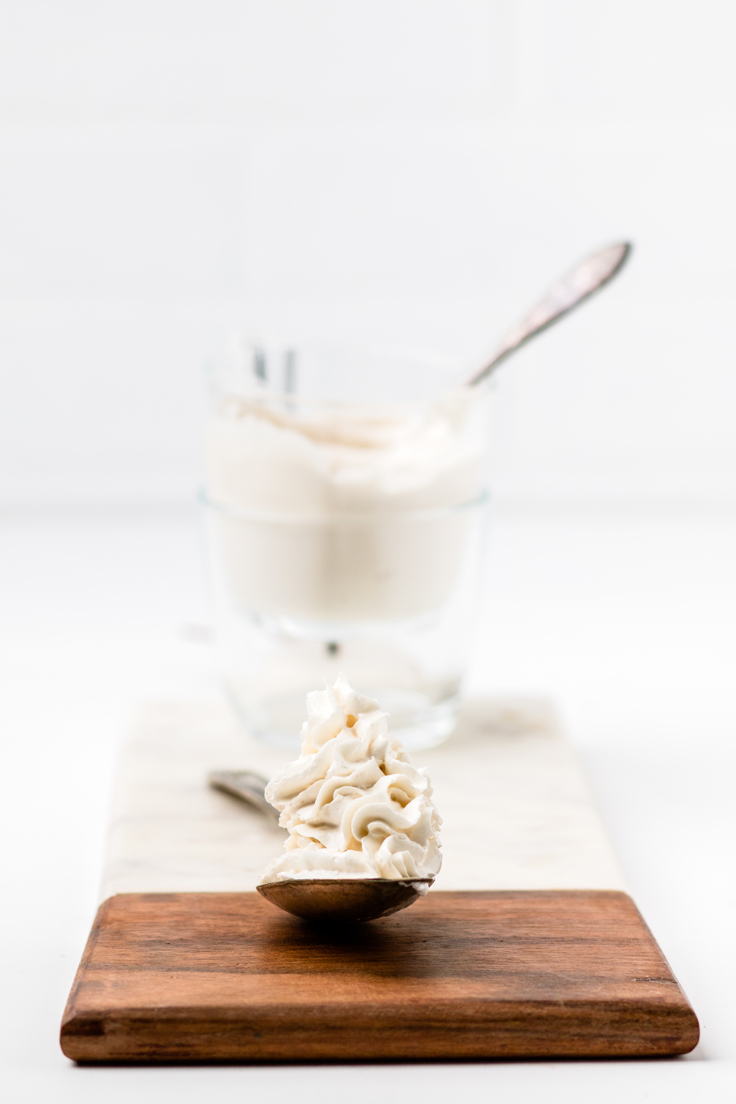
Just because you need a dairy free whipped cream, doesn’t mean that your desserts need to have flat coconut whipped cream. The easiest solution to still get the pretty spirals like you would from an aerosol can is to use a stainless steel whipped cream dispenser. The dispenser should also be chilled before making. Follow instructions with the dispenser to make this vegan whipped cream recipe.
🥳 Get the Full Recipe
Vegan Whipped Cream (Coconut Whipped Cream)
Ingredients
- 1 can full fat coconut milk
- 1 tablespoon vegan cane sugar*
- 2 teaspoon vanilla extract*
Instructions
- Place coconut milk can in fridge for at least 6 hours (overnight preferred)
- 10 minutes before making, place bowl in freezer to chill. Not necessary, but chilling beaters would also be beneficial.
- Carefully remove can from the fridge, making sure you do not tilt or shake the can. Open the lid.
- Gently scoop out the solid coconut cream from the top of the can. Save the coconut water at the bottom for another use.*
- Add the sweetener of your choice and the vanilla to the bowl.
- Beat until stiffened. About 5 minutes.
- Serve or store in fridge for up to 1 week.
Notes
*If you are paleo, replace vanilla by scraping out ⅔ of 1 vanilla bean. *It’s really important that your coconut milk can says full fat. If if doesn’t, it won’t separate when chilled in fridge.
*If you open a can and it’s not separated, unfortunately you have a dud can. For this reason, I also put two cans in the fridge.
Nutrition
Pin this Dairy Free Whipped Cream – Coconut Whipped Cream Recipe for Later:


Can I use this recipe for the filling of my Whoopie pie recipe? Will the cream hold firm if kept cool in fridge.
Thanks
Hi there. Sounds great, and looks delicious. Question: Do you think a whole can of coconut cream could be used instead of the top of a can of coconut milk? The brand of coconut milk I buy also makes the same size cans of coconut cream. I wonder if it’s as thick and dense as the cream at the top of a can of coco milk though . . .
Coconut cream is a bit of a different texture usually. Do you know the name of the brand so we can look into it for you and give a better opinion?
I made this using store bought coconut whip cream (So Delicious Light) and the cheese cake did not set well (didn’t firm up) after more than four hours. Any suggestions? I will try again with the regular instead of light coconut whip cream but since it’s plant based I don’t know if that will make any difference. Does the home made version of coconut whip cream set better?
I’m not sure what you are saying you made. You’re commenting on whipped cream but saying you used a store bough whip. Can you clarify so we are able to help you troubleshoot.
What a genius and delicious alternative to cream! Thanks for linking to my Apple Meringue:-)
You’re Welcome! Thanks for a great recipe!
Beautiful! this looks delicious! (As do the recipes!) Thanks for sharing!
Thank you so much for your kind words! I really appreciate it! Hope you love the recipe!