
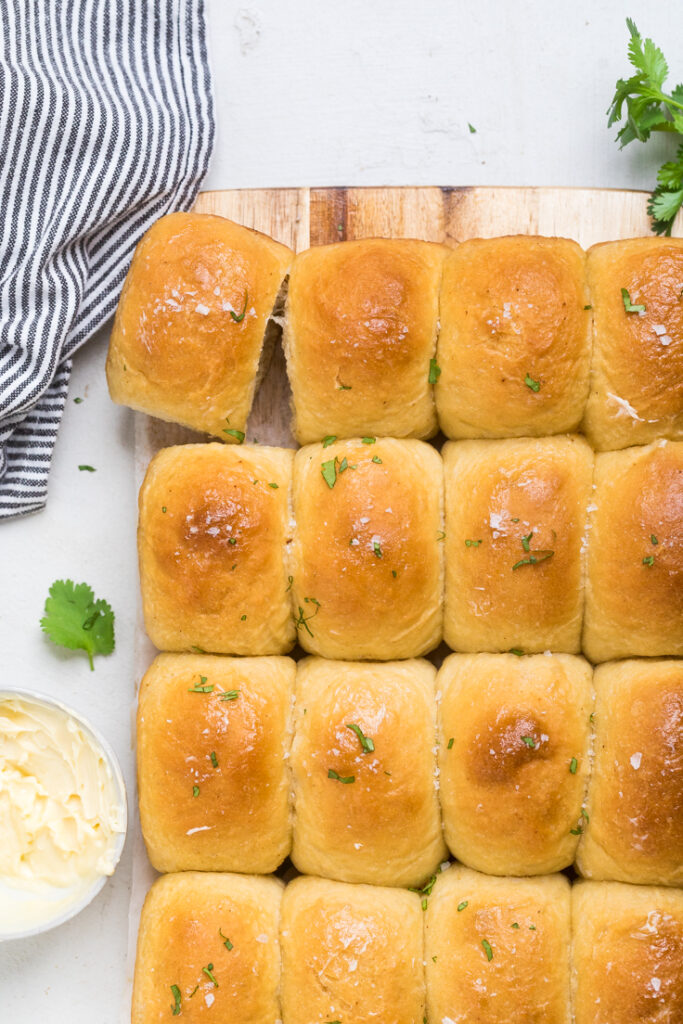
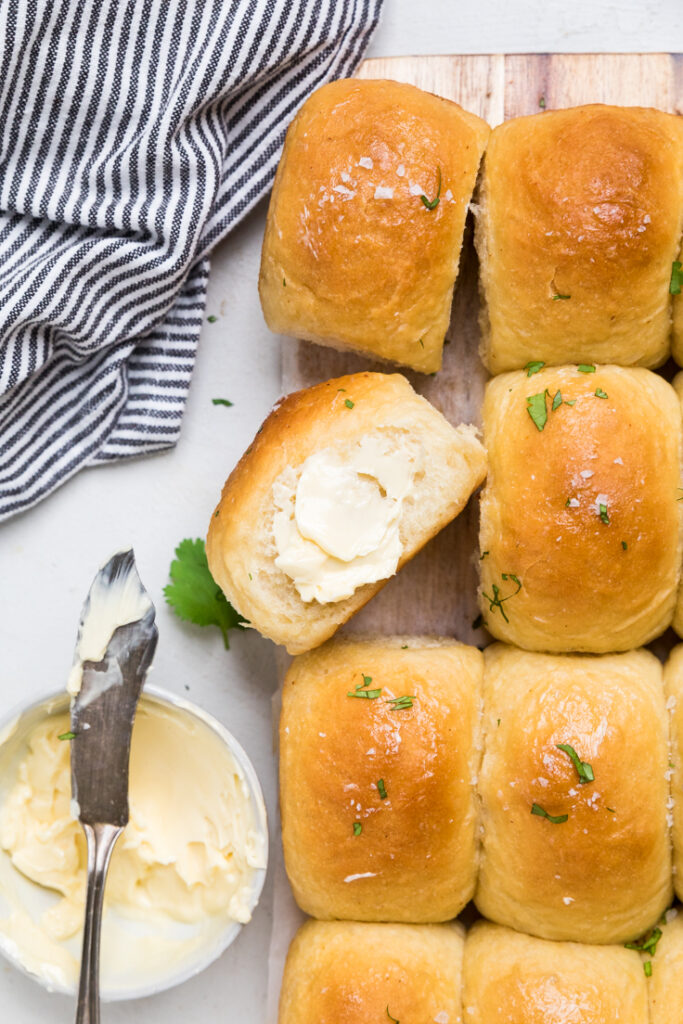
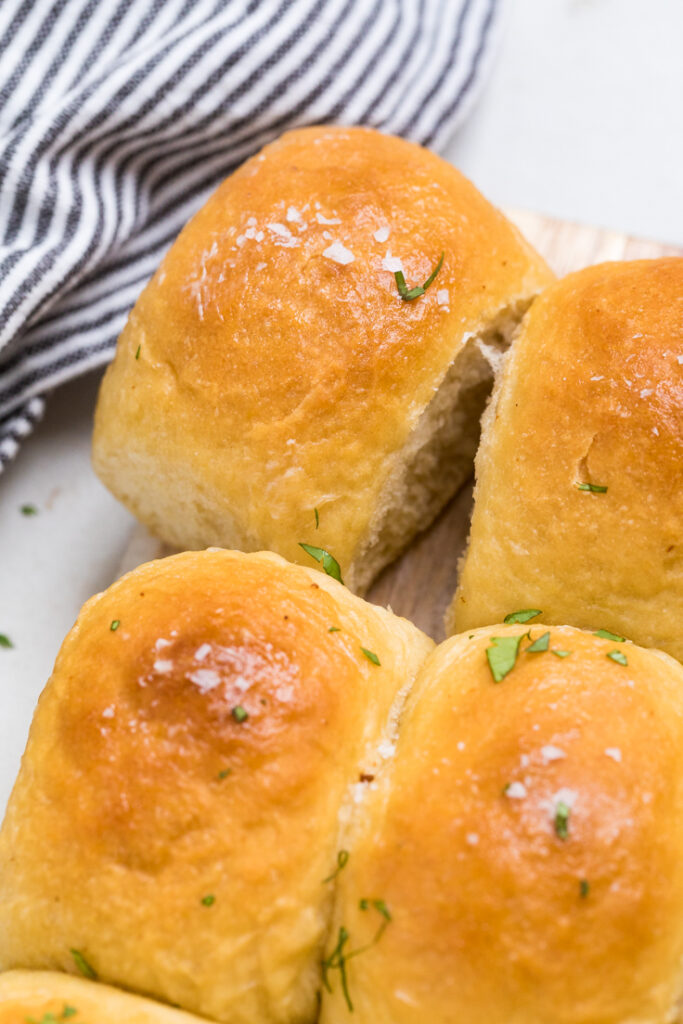
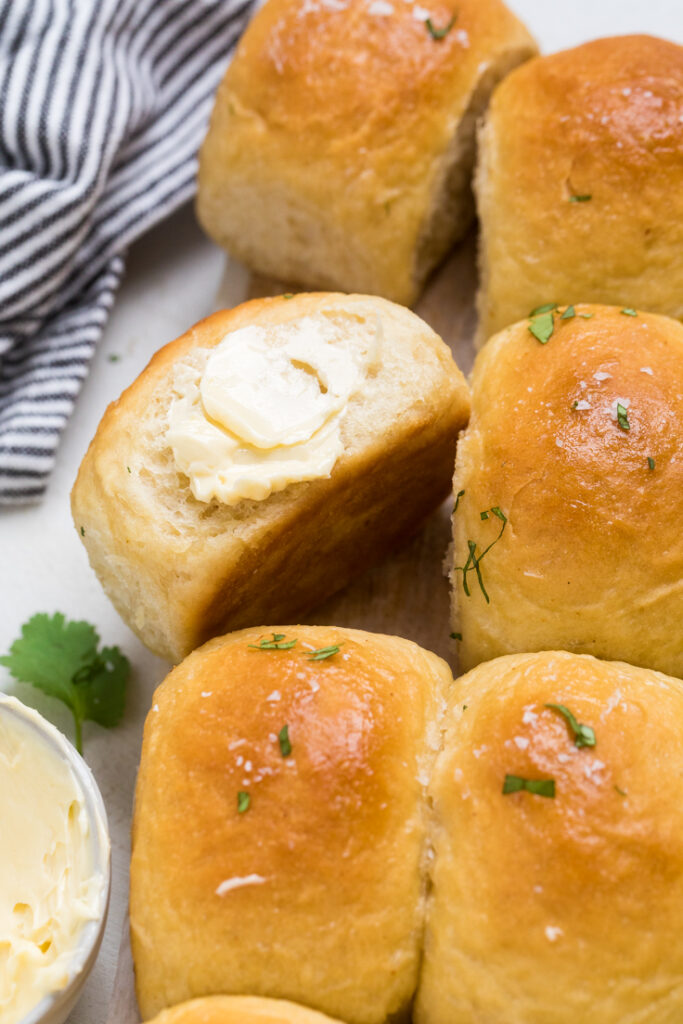
These vegan Hawaiian rolls are so soft and remind you of the store bought version. Perfect for sandwiches, dinner rolls, and more!
Want to Save This Recipe?
If you have never had Hawaiian rolls, then you may not know what you’re missing. However, if you’ve had then and now vegan you know why this recipe is so perfect. These vegan Hawaiian rolls are just so dang good.
They are sweet rolls they are soft and buttery and because of that combination they make the absolutely most perfect dinner rolls or sandwiches.
Can I prep these vegan Hawaiian rolls ahead?
Yes! They will last in an air tight container on the counter for up to 5 days.
Can I freeze vegan Hawaiian rolls?
Yes! Let them cool completely and then put in an air tight freezer container or wrap tightly in foil. Foil specifically helps reduce the chance of frost bite.
Use within 3 months.
Can I make vegan Hawaiian rolls Top 8 Allergen Free?
Unfortunately, at the time, we cannot recommend using a gluten free flour with this recipe. Please know that we are working on a gluten free dough, but it’s just not quite there yet.
For the vegan butter, we recommend Earth Balance Soy Free, it comes in a red tub.
I’M OIL FREE, DO I HAVE TO USE VEGAN BUTTER?
If you are oil free, you do not have to use vegan butter. However, the buns will be lighter in color and not as flakey on the top.
We would recommend that you brush lightly with plant based milk.
Can I reheat these?
Absolutely! Just pop them into the microwave for 15 seconds at a time until they are heated throughout.
If you are using them from frozen, let them sit out overnight, then proceed with above.

What should I pair with these vegan rolls?
There are so many options. Honestly, eating them straight out of the pan is a perfect option by itself.
However, we’d also recommend you turning them into vegan ham and cheese sliders as pictured above.
They’d also be great paired with:
- Pair with Vegan Mashed Potatoes
- Use for buns for our vegan protein burgers (make mini burgers) or vegan sloppy joes
- Dip in your favorite soup or try with our vegan sweet potato stew or vegan apple chili
Pin these vegan Hawaiian Rolls for later:

🥳 Get the Full Recipe

Vegan Hawaiian Rolls
Ingredients
- 1 ½ cups pineapple juice
- 1 teaspoon vanilla
- 3 ½ – 4 cups flour (we prefer bread, can use all-purpose or whole wheat – see post for details)
- 2 tablespoon potato starch
- 1 package instant yeast (1 package = equals 2 ¼ tsp)
- ¼ cup brown sugar
- 1 teaspoon salt
- ⅔ cup vegan butter, divided
Instructions
- Combine the pineapple juice and vanilla Set aside.
- In a stand mixer, whisk together 3 ½ cups flour, potato starch, yeast, brown sugar and salt.
- Add in the pineapple juice mixture.
- Let stand mixer go until dough has come together and easily coming off sides. Will be a little sticky.
- Place dough on a lightly floured surface and sprinkle with some flour on top (enough for it to not stick to your hands). Form dough into a ball.
- Once ball is formed, grease the same bowl mixed in and place the dough ball back into the bowl. *If you are oil free, then just make sure sides of bowl are floured, or use a silicone bowl to easily get it out
- Cover with a towel or plastic wrap and let sit for 60-90 minutes in a warm, draft free place until doubled.
- Once doubled, punch down dough and then pull off pieces into 16 even sizes. (We prefer to weigh the whole ball and then divide by 16 to ensure as even as possible).
- With each piece, fold sides under and roll into balls.
- Place each ball, seam side down, into a greased or parchment lined 9×13 baking pan.
- Cover pan and let rise for another 30 minutes. *After this rise, you want the dough balls to be touching each other. If they are not touching, give them a little bit longer.
- Preheat the oven to 375 degrees while rising this second time.
- Using ⅓ cup of melted butter, brush each roll liberally.
- Put into oven and bake for 15 minutes or until golden brown.
- Remove from oven.
- Right before serving brush with remaining ⅓ cup melted butter again. Best served warmed.


I have tried other versions of this, and they are always missing that ‘something’ that made it like the store bought ones. But I think you have got that combination. These turned out really well. Had that hint of sweetness and pineapple. Thanks for posting.
I love to hear this! Thank you for sharing your thoughts
I know my result was probably
a first-time baking error🫣… But mine were super dense, doughy, and didn’t rise like I hoped.
I used whole-wheat, next time I’m trying 1/2 WW 1/2 all-purpose.
How long would you suggest for rise time if WW? Maybe I should’ve added a lot more time??
The taste is good… So I’m hopeful!!
Im really proud of you for trying these as a first time baker. It’s not the hardest recipe but it’s not a walk in the park either! Ok, so whole wheat flour needs longer proofing and absorbs more liquid. These are the two main reasons for your rolls to have turned out dense and doughy with little rise. The general rule of thumb is to use about 2 teaspoons more liquid per cup of whole wheat flour. For whole wheat flour, rise until doubled in size, which could take 90+ minutes depending on your room temp.
Don’t rush the rise— that’s key for light texture.
Although whole wheat flour is more course than all purpose flour, so your end result will still be slight more dense if compared to all purpose.
Hope this helps!