
I’ve been making my own homemade breads for over a decade now which means I’ve made all the mistakes only to provide you with the absolute best and fool-proof methods.
Pita bread is one that’s not only delicious, but it’s fun to make with kids since it puffs up and everyone gets a joy out of that.
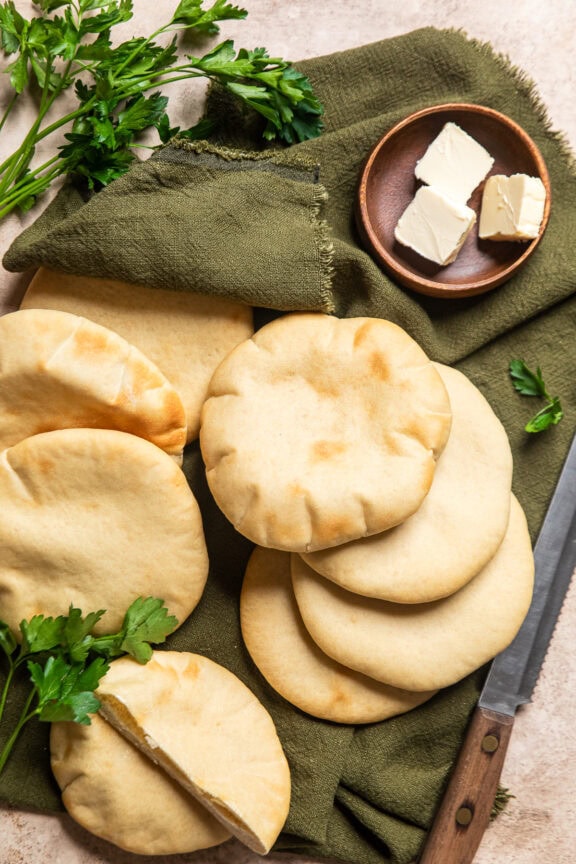
What is pita?
Pita bread is a super popular flatbread option in Middle Eastern and Mediterranean cuisines. When it puffs up in the oven, it creates a pocket which makes is awesome for making sandwiches. Fillings include things like falafel and shawarma, but it can also just be used to dip into your favorite sauces.
Jump to:
Why You’ll Love Making Homemade Pita Bread
- Pantry Staples – One of the best things about pantry staple recipes is that you usually have everything on hand already. That mean you can make any time!
- One Bowl – One thing to make me really excited about recipes is when not only the recipe is easy, but clean up is easy as well!
- Texture and Flavor – You will be amazed that you just made this bread that tastes and feels better than any store bought bread you can get. Bonus – it makes your house smell incredible

Want to Save This Recipe?
Ingredients:
You only need six ingredients for this super easy pita bread recipe.
The ingredients that you need are:
Flour
We’re using all-purpose flour for this pita recipe to keep it easy and simple for people. You can use bread flour and you can also half whole-wheat and half all-purpose (you’ll need 2-3 additional tablespoons of water if you use mix of the two).
*We do not have a recommendation for making this gluten free at this time.
Olive Oil
It provides enhanced flavor, and a better crumb and softness to your dough.
Substitute: Avocado oil, grapeseed oil, or melted, but not hot, vegan butter could also be used.
Plant-Based Greek Yogurt
Not always needed, but I like adding this to the dough recipe for added fat, moisture, and richness. It also adds protein to the dish.
Yeast
We are using instant yeast – sometimes also labeled as rapid rise or fast rising. It is what we prefer to make this recipe as easy as possible. With instant yeast, you don’t have to worry about liquid temperature, foaming or other things you may have to be mindful of when using active dry yeast. We find that using instant yeast provides a better outcome for people looking for the easiest recipe
Substitute: You can use active dry yeast in this recipe but will need to heat the liquid first and allow it to come to a foam before using. The rise time for the recipe may also take longer.
Sugar
We prefer using vegan cane sugar for this recipe. Learn more about vegan sugar.
Substitute: You can sub out the same amount of coconut sugar, maple syrup or agave.
Salt
When added to bread, salt acts not only as a flavor enhancer, but more importantly helps slow down the growth of the yeast in your dough leading to a better outcome
Note: You’ll also need some water. Optional ingredients can be garlic/garlic powder for flavor.
Ingredient amounts listed in the printable recipe card below.

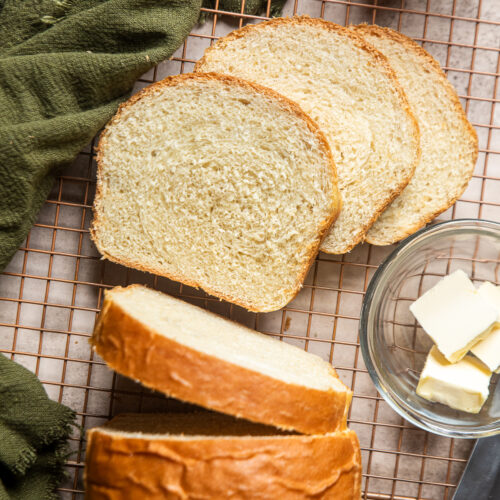
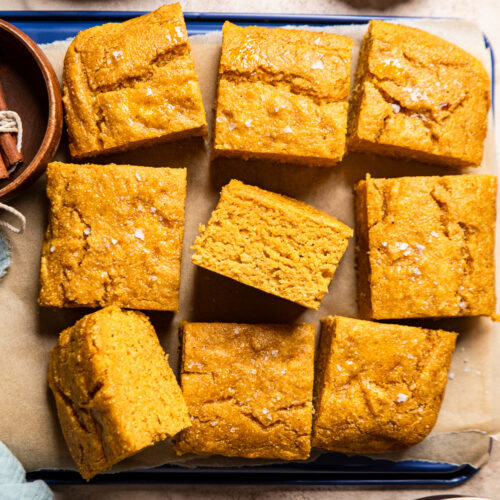
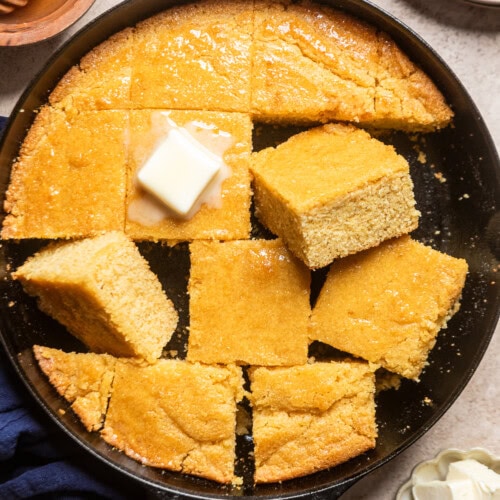
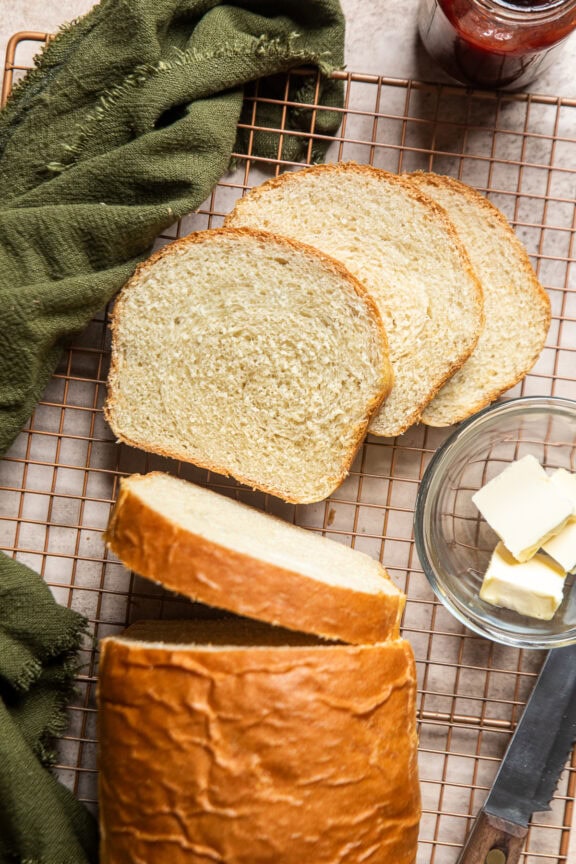
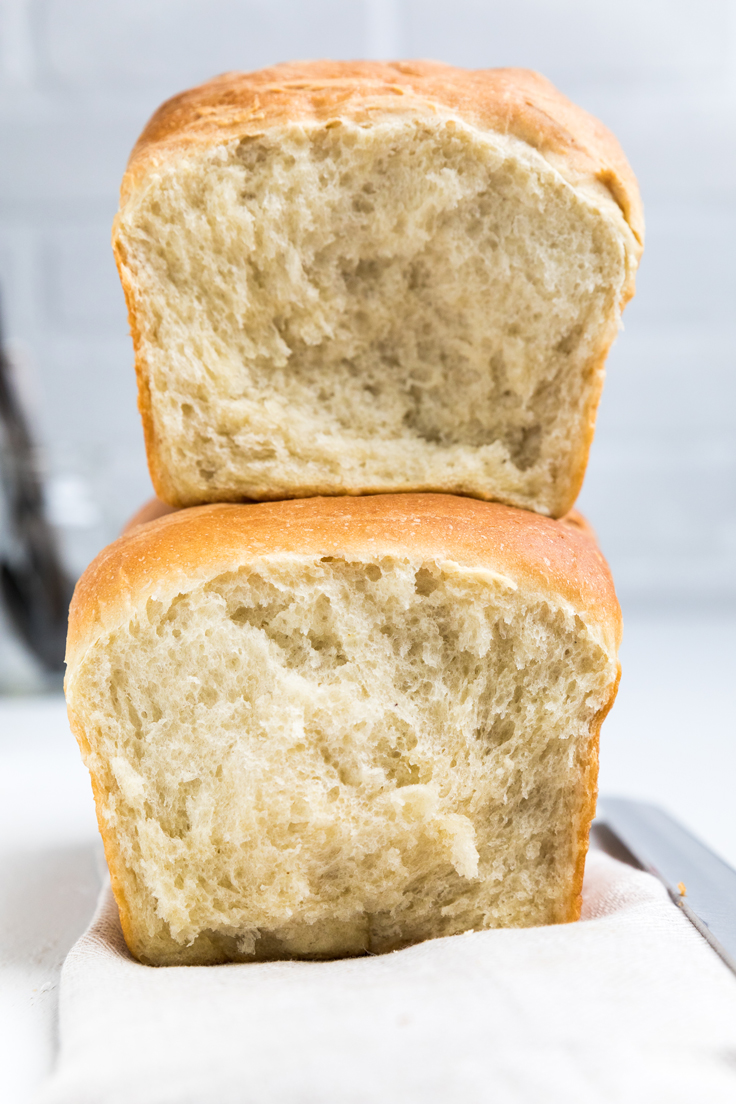
What other homemade breads should I try to make?

🥳 Get the Full Recipe

How to Make Pita Bread
Ingredients
- ¾ cup plant-based neutral Greek-style yogurt (180g)
- ½ cup warm water (120g)
- 1 tablespoon olive oil (15mL)
- 2 ¼ teaspoons instant yeast (1 packet)
- 1 teaspoon cane sugar
- 3 cups all-purpose flour (360g)
- 1 teaspoon salt
Instructions
- In the bowl of a stand mixer, add ¾ cup plant-based yogurt, ½ cup warm water, 1 tablespoon olive oil, 2 ¼ teaspoon instant yeast, and 1 teaspoon cane sugar. Whisk together well. Add in 3 cups flour and 1 teaspoon salt. Then, using a spatula, fold until mostly combined and having a shaggy texture.
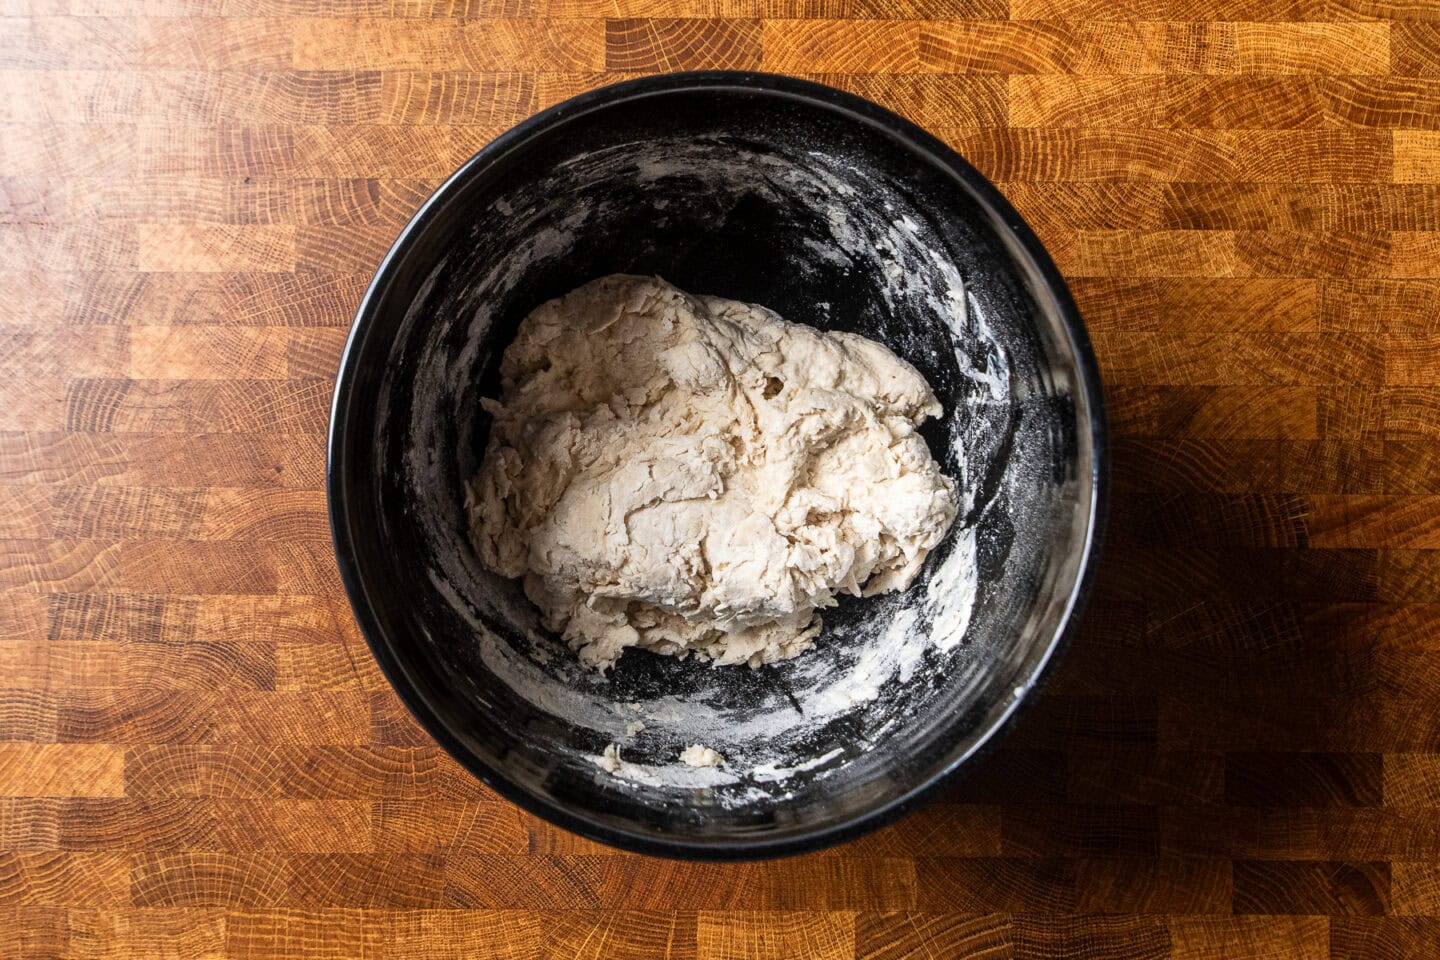
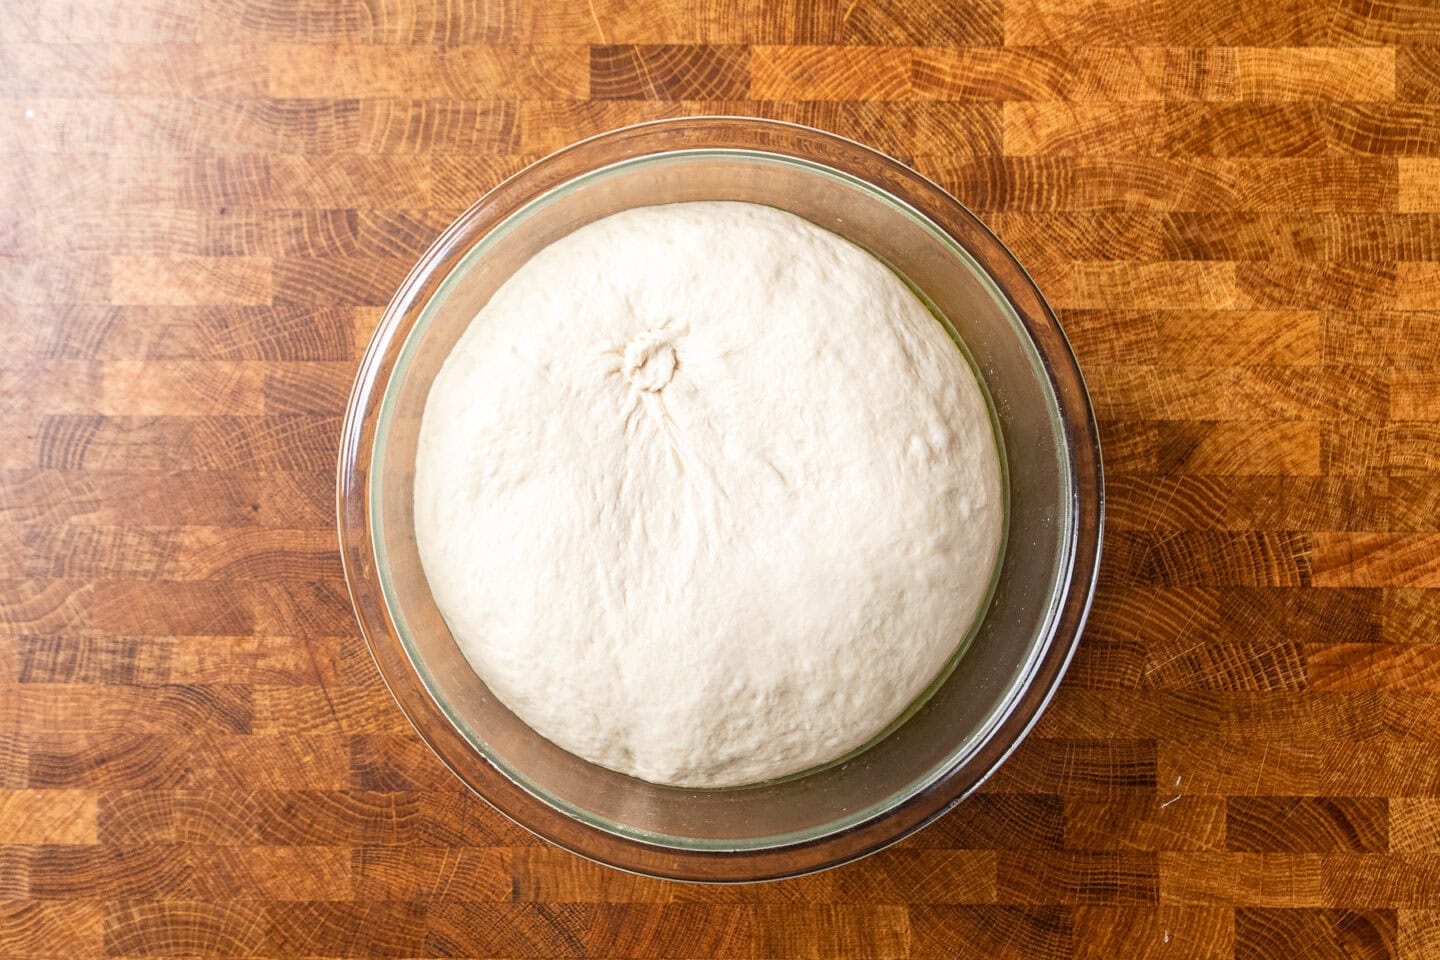
- Using a dough hook, knead the dough with your stand mixer for about 5-6 minutes until dough springs back at you. Once ball is formed, remove the dough and lightly oil the same bowl and place the dough ball back into the bowl. Cover with a towel or plastic wrap and let sit for 60-90 minutes in a warm, draft free place until doubled.
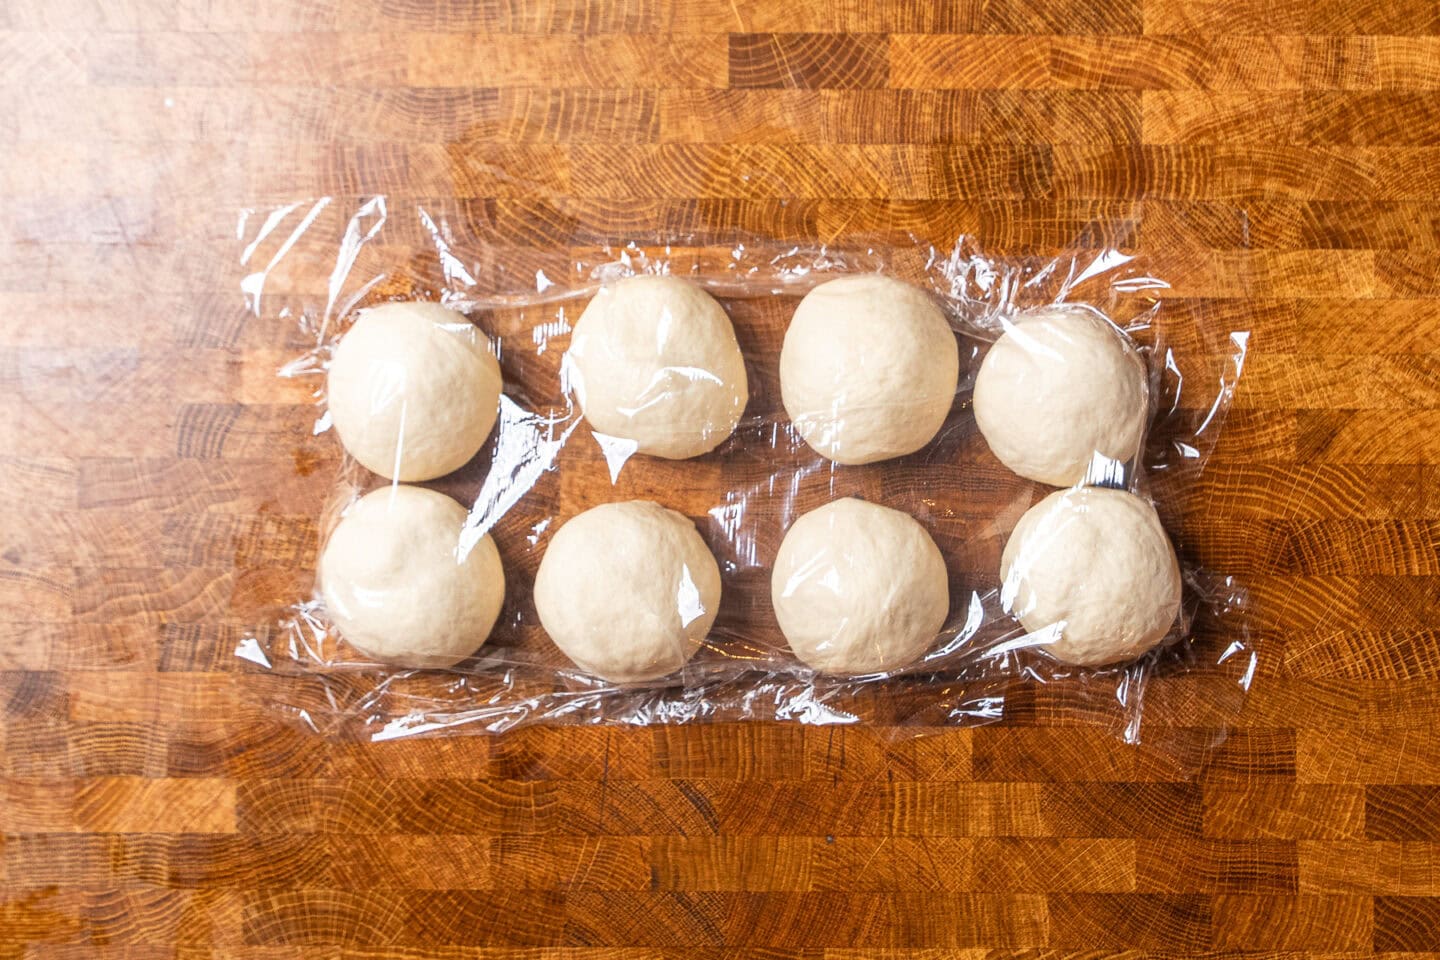
- Once doubled in size, punch it down, and cut it into 8 equal pieces. Roll each piece into a ball shape, then cover the pieces with a kitchen towel. Let rest for 10 minutes.
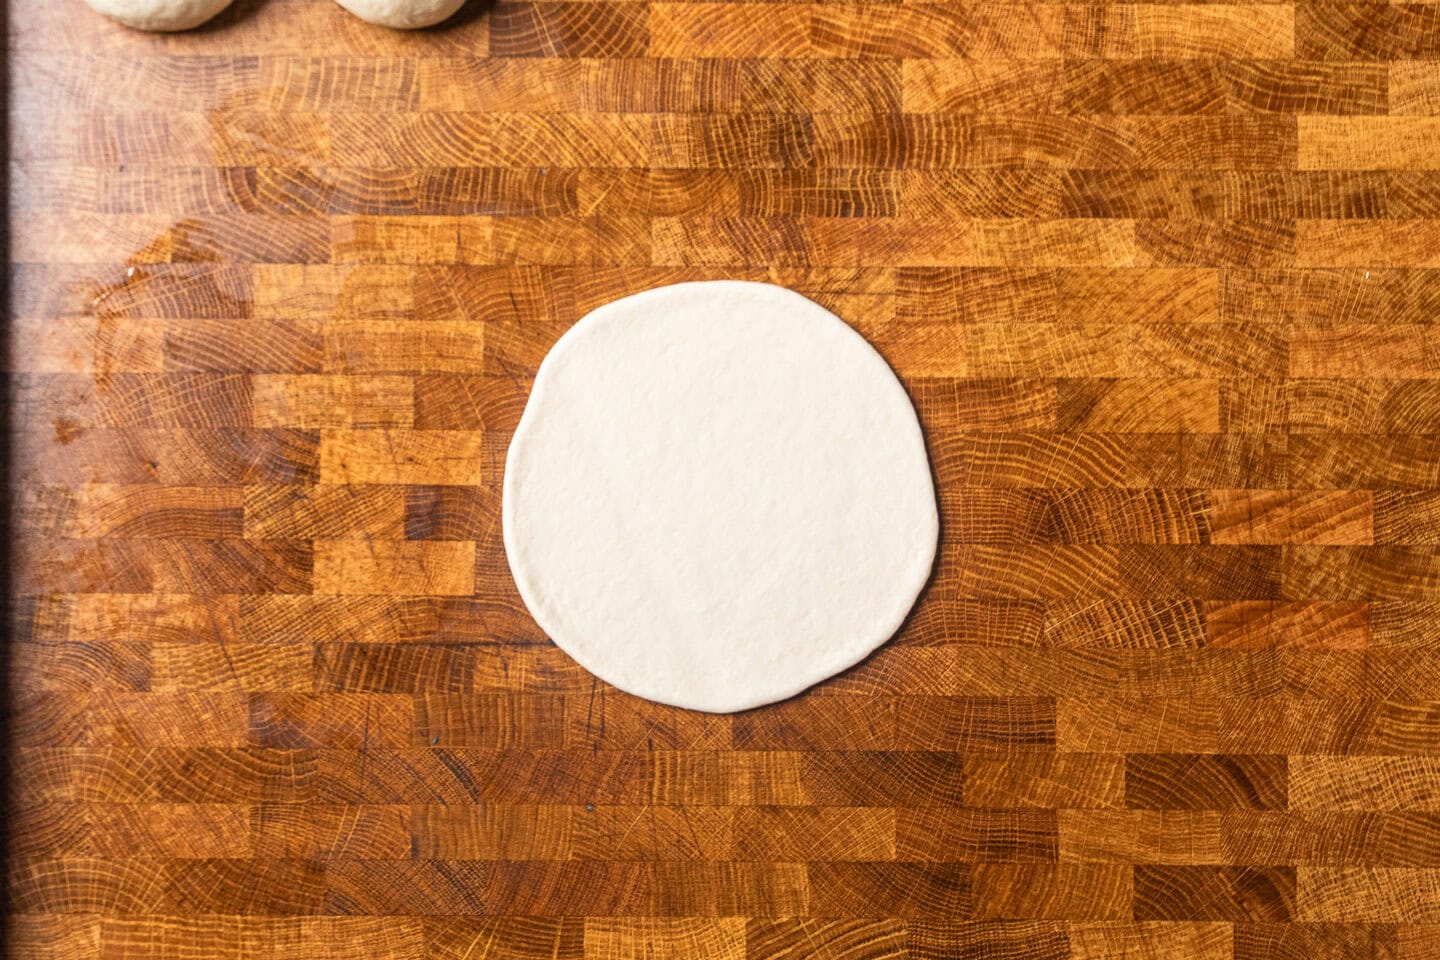
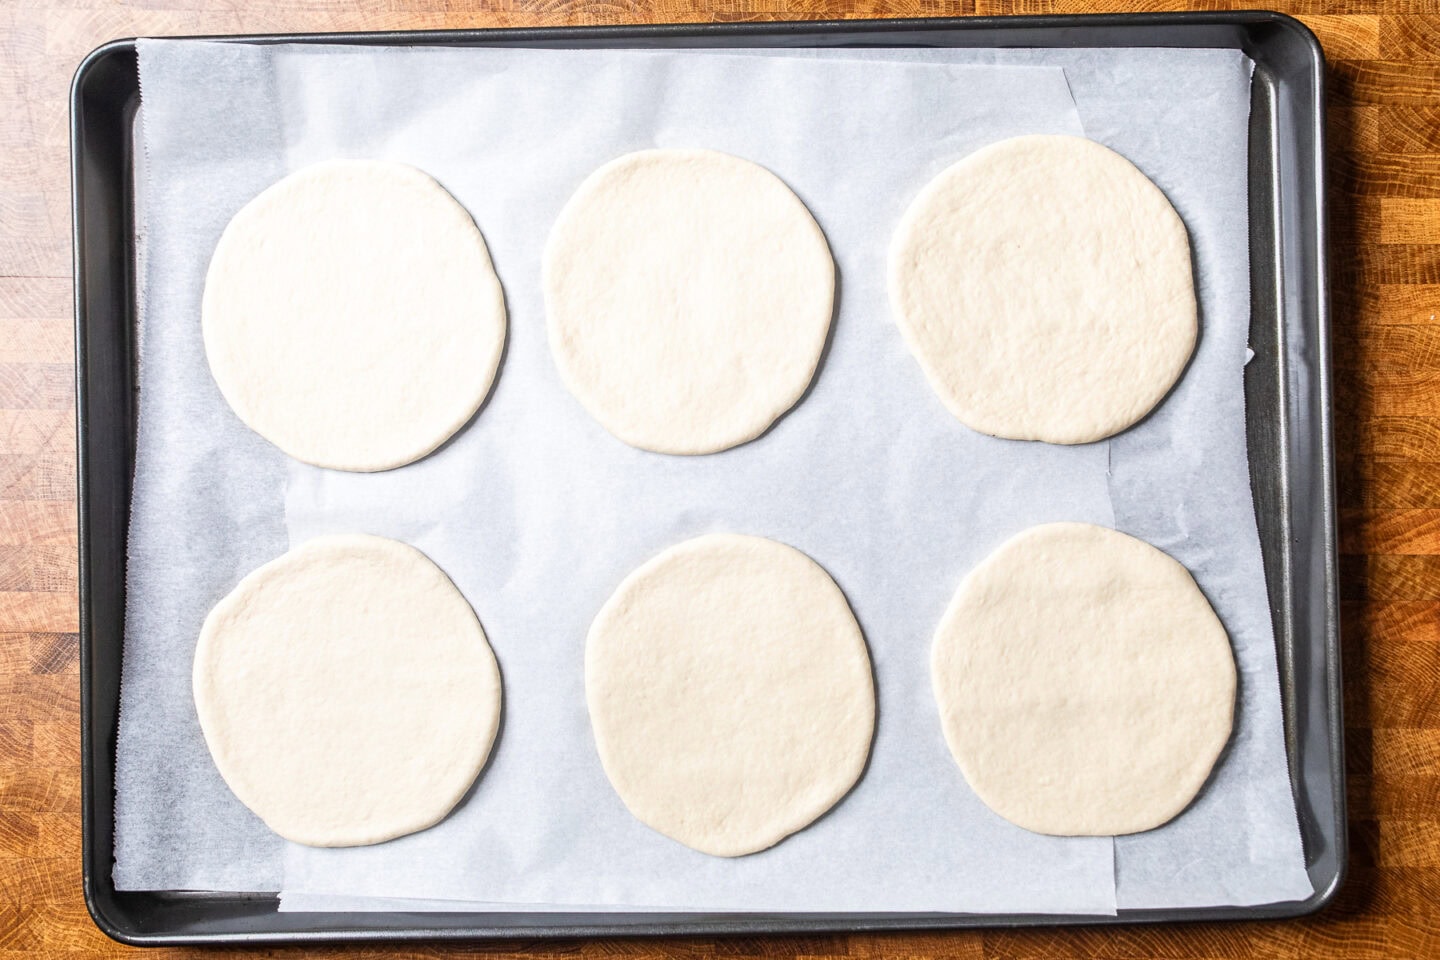
- Then, one at a time, roll each dough ball into a 6-7 inch circle with a thickness of ¼ to ⅜ inches. Place on a parchment lined baking sheet and repeat with all 8 pieces not allowing the pitas to touch (will likely need two baking trays.
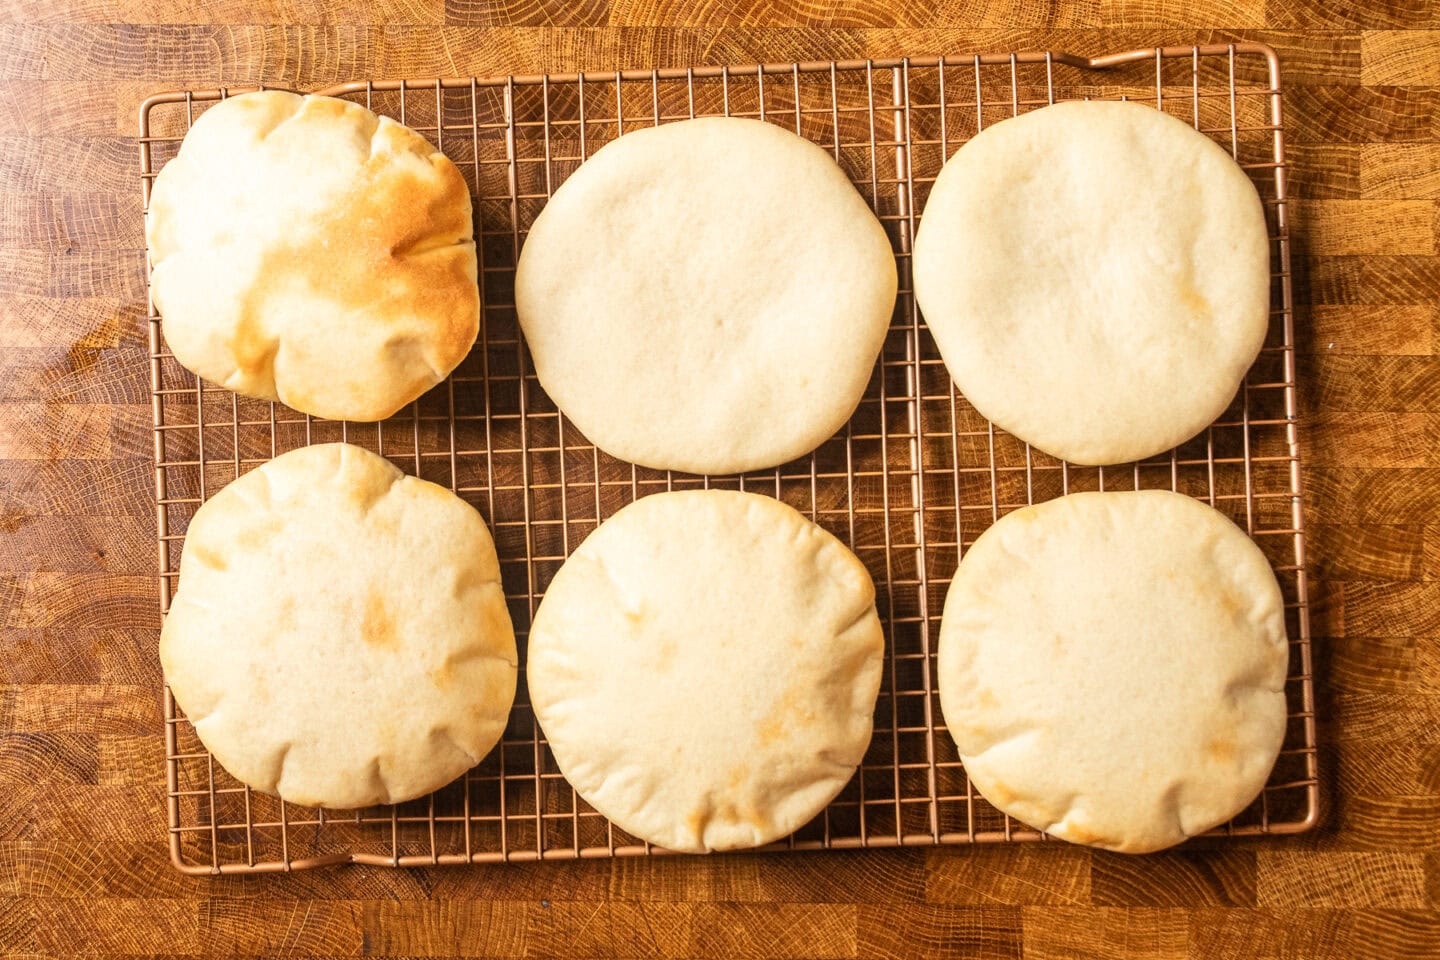
- Baking Options: Option 1: Preheat oven to 500˚F (260˚C). Cook for 5-6 minutes and then check to see if they are puffing up. Once puffing allow to cook for another 2-3 minutes. Option 2: Preheat oven to 475˚F (246˚C) with either a baking stone or a baking sheet with the bottom facing up inside to heat up. Once heated, carefully place the pitas on the hot surface and cook for 2-3 minutes or until golden and puffy. Do not overcook your pitas no matter which option you choose.
- Place pitas on a wire rack to slightly cool. Then place in the a towel lined bowl and cover. Cut in half to make pita pocket sandwiches or use to dip your favorite sauces.
Notes
Video
Nutrition
Frequently Asked Questions:
We are using all-purpose flour for our recipe. You can also use bread flour.
Even a mix of half all-purpose and half whole wheat will work with this recipe, but you will need a few extra tablespoons of water.
We are using cane sugar, but you could also do maple syrup, agave, or date syrup.
Yes! You sure can!
Once your bowl is covered, you can place the bowl in the fridge up to 2 days before you plan to use it.
Just make the recipe as written, cover and place in fridge until ready to use. Then allow to come to room temperature.
Alternatively, once made it will last covered at room temperature (on the counter) for up to 2-3 days or your can place wrapped tightly in the freezer for up to 3 months.
Yes! Make the recipe up to the first rising poing. Then, you can place in a ziplock bag and place in the freezer for up to 3 months. To use, let set in the fridge overnight until thawed and start the rising process.
Unfortunately, at the time, we cannot recommend using a gluten free flour with this recipe. Otherwise, It’s free of the other Top 9 Allergens.


Rate and Review
We would love to hear what you think!
Comments
No Comments